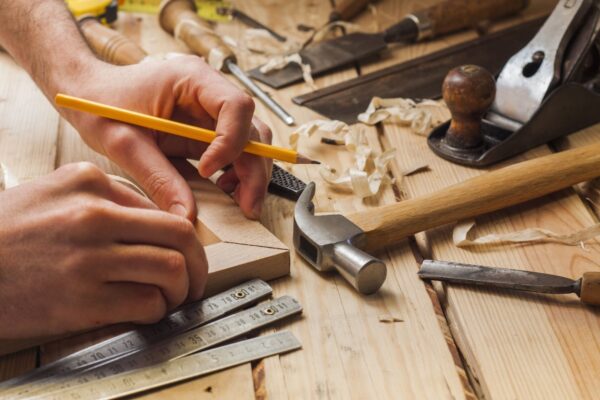
Woodworking can be a deeply satisfying and practical hobby, but for beginners, it may seem daunting. The key is to start with simple projects that require basic tools and techniques, allowing you to build confidence and skills along the way. Richard R Wilk of Indiana will guide you through two beginner-friendly projects: a wooden shelf and a picture frame. Both are practical items that can add charm and functionality to your home.
Why Start With DIY Woodworking?
Learning woodworking allows you to:
- Create custom, one-of-a-kind pieces for your home.
- Save money by making items yourself.
- Develop a versatile skill set that can grow with you.
These projects require minimal tools, are inexpensive, and will teach you essential techniques like measuring, cutting, and sanding.
Project 1: Simple Wooden Shelf
Materials Needed
- Wooden board (pine or poplar works well for beginners, 1″ x 8″ x desired length)
- Sandpaper (120- and 220-grit)
- Wood screws (1.5 inches)
- Brackets (optional, for wall mounting)
- Wood stain or paint (optional)
- Polyurethane (for finishing, optional)
Tools Required
- Measuring tape
- Pencil
- Saw (hand saw, miter saw, or circular saw)
- Power drill or screwdriver
- Paintbrush (if staining or painting)
Instructions
- Measure and Cut the Wood:
- Determine the length of your shelf. Standard sizes are 24 to 36 inches, but you can customize it to your space.
- Use a saw to cut the wooden board to your desired length. Sand the edges smooth.
- Sand the Surface:
- Sand the entire surface of the board with 120-grit sandpaper to remove roughness.
- Follow up with 220-grit sandpaper for a smoother finish.
- Finish the Wood:
- If you’re staining the shelf, apply wood stain with a brush or cloth, wiping off excess. Let it dry for the recommended time on the label.
- Optionally, seal the shelf with a polyurethane topcoat for durability.
- Attach Brackets (Optional):
- If you plan to mount the shelf to a wall, attach brackets to the underside of the shelf. Use a measuring tape to ensure equal spacing from the edges.
- Mount the Shelf:
- Use a power drill to secure the brackets to the wall. Ensure the shelf is level.
Your simple wooden shelf is now ready to display books, plants, or decorative items!
Project 2: DIY Picture Frame
Materials Needed
- Wooden molding (available at hardware stores)
- Sandpaper (120- and 220-grit)
- Wood glue
- Clamps (or heavy books as substitutes)
- Picture frame backing and glass (reuse from an old frame or buy pre-cut)
- Sawtooth hanger (optional for wall mounting)
- Wood stain or paint (optional)
Tools Required
- Measuring tape
- Miter box and saw (for precise angled cuts)
- Power drill
- Small paintbrush (if finishing)
Instructions
- Measure and Plan:
- Measure the dimensions of your picture or artwork. Add 1/8 inch to each side to ensure the picture fits easily within the frame.
- Cut the Molding:
- Use the miter box and saw to cut the molding at 45-degree angles so the edges join cleanly at the corners. You’ll need four pieces: two matching the picture’s width and two matching its height.
- Sand the Pieces:
- Sand all pieces with 120-grit sandpaper, focusing on the cut edges. Finish with 220-grit sandpaper.
- Assemble the Frame:
- Apply wood glue to the angled edges and join the pieces together to form the frame. Use clamps to hold the corners tightly in place while the glue dries (at least 1-2 hours).
- Finish the Frame:
- Once the glue has dried, sand any uneven spots at the joints. Stain or paint the frame as desired. Allow it to dry completely.
- Insert the Backing and Glass:
- Place the glass, picture, and backing into the frame. Secure them with small nails or staples on the back of the frame.
- Attach a Hanger (Optional):
- If you plan to hang the frame, attach a sawtooth hanger to the back.
Your custom picture frame is complete! Use it to display your favorite photo or artwork proudly.
Tips for Success in Woodworking
- Measure Twice, Cut Once: Accurate measurements ensure your pieces fit together seamlessly.
- Start Simple: Avoid overly complex designs or techniques until you’re more comfortable with the tools and processes.
- Invest in Quality Tools: Good tools make your projects easier and more enjoyable.
- Practice Patience: Woodworking can take time, but the results are worth the effort.
Embarking on simple woodworking projects is an excellent way to learn new skills and create something meaningful. The wooden shelf and picture frame outlined here are practical, beginner-friendly projects that can be completed in a weekend. With time and practice, you’ll be ready to take on more advanced woodworking challenges. So gather your tools and materials, and start building!
